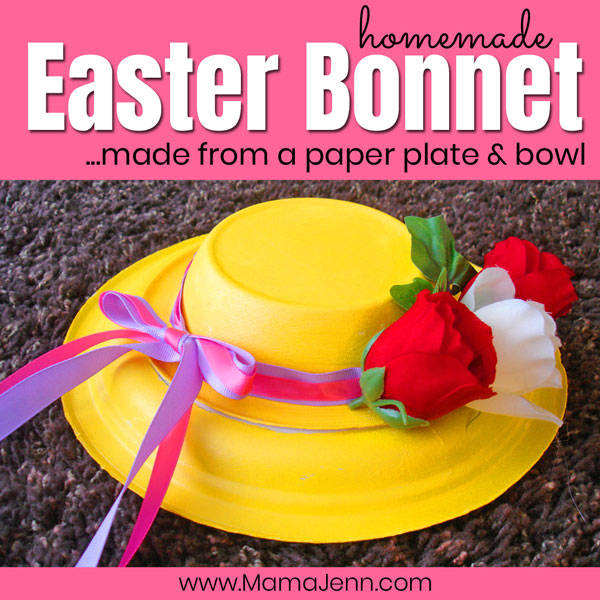
Need an Easter hat for your child? Follow this tutorial to create a show-stopping homemade Easter bonnet made from a paper plate & bowl!
Easter was almost here and my daughter wanted a new bonnet to wear for the occasion. I brushed off her request and sent her to find one of the many Easter hats and bonnets purchased from years past.
After awhile she marched back into the room.
Apparently her brothers thought the bonnets made great frisbees and the dress-up bin the ultimate target.
All her cute, little bonnets were smashed up with the ninja costumes, princess gowns, and a single boot that had been missing all winter.
I was empathetic to her plight as the only girl amongst four brothers – but I refused to buy yet another hat to result in the same fate.
So, I got creative! We like fun, easy craft projects, so I decided we would make her an Easter bonnet…from a paper plate and paper bowl!
Easter Bonnet Book Inspiration:
Want to incorporate some fun Easter bonnet/hat themed books? I love coupling crafts and corresponding books! We read two super cute Easter bonnet themed books:

Miz Fannie Mae’s Fine New Easter Hat![]() by Melissa Milich
by Melissa Milich
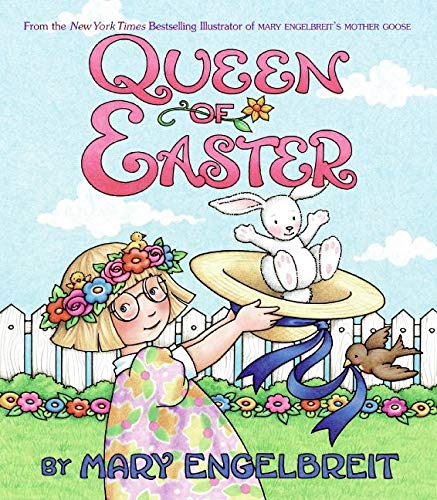
Queen of Easter by Mary Engelbreit
Both books are about a special surprise found in Easter hats! (Read my review of Miz Fannie Mae’s Fine New Easter Hat over on my “Brown Like Me” Book Review blog!)
Ready to begin? Follow the step-by-step directions below to create your own adorable Easter bonnet!
Supplies Needed for the Homemade Easter Bonnet:
If you’re a crafty person, most of the supplies you’ll need for this super cute DIY Easter hat can be found around the house.
If not, you can find all the supplies at the Dollar Tree. Or click on each item to purchase online.
- heavy duty paper plate (the sturdier, the better)
- heavy duty paper bowl (again – the sturdier, the better)
- paint
- ribbon
- faux flowers (these are so cute)
- glue (see explanation & options in step 3 below)
How to Make the Easter Bonnet:
This hat is incredibly easy to make. Just follow these simple directions:
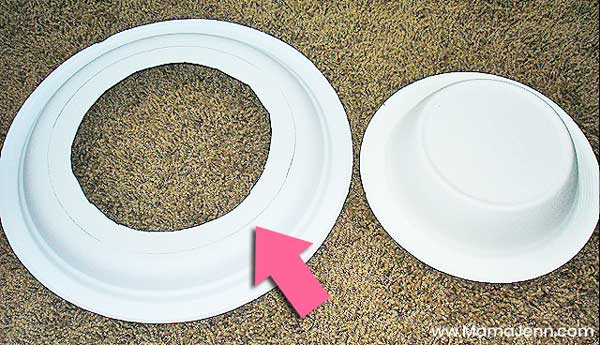
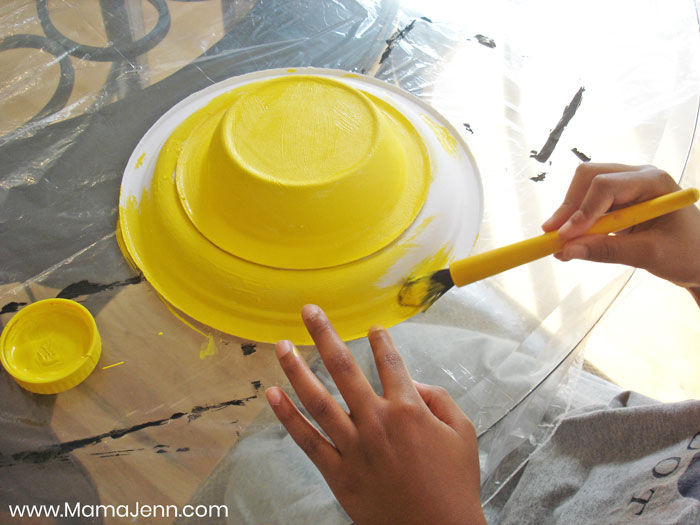
- First, turn the plate and bowl upside down. Put the bowl on the plate and trace the circle. (Notice the traced circled in the photo below.)
- Then cut about an inch or so inside the traced circle…so your hat is wearable!
- Next, glue the bowl to the plate. You could use regular ol’ Elmers, but if you’re in a hurry, use a glue gun (LOVE the color & the stand-up base) and glue sticks.
- Paint the plate and bowl. We used a glossy, yellow acrylic paint so we could get away with just one coat.
- Lastly, embellish. Once the hat is dry, it’s time to decorate it. Use glue to secure the ribbon and adhere the flowers. Again, a glue gun works great here.
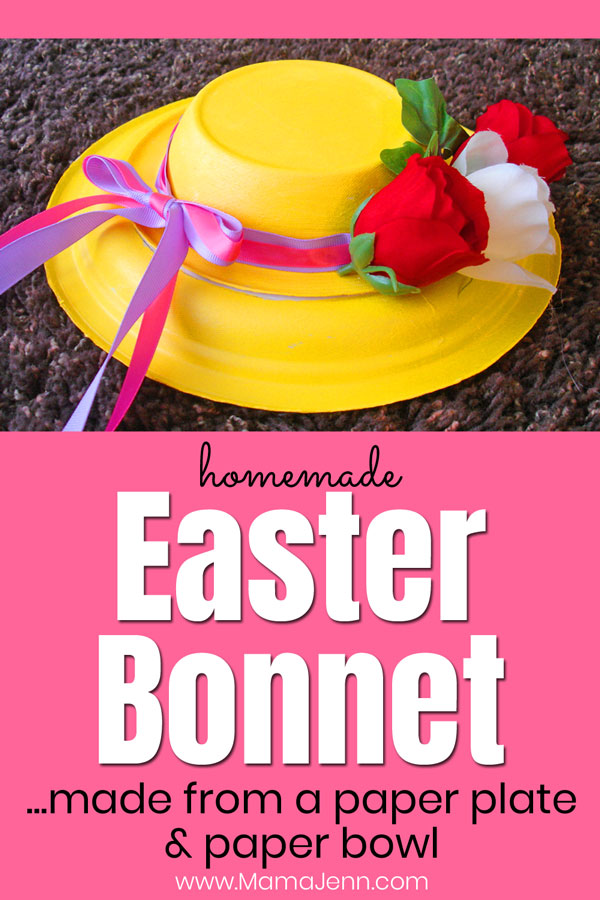
And that’s it! Is this not the cutest, most creative, homemade Easter bonnet ever? My daughter and I LOVE how it turned out!
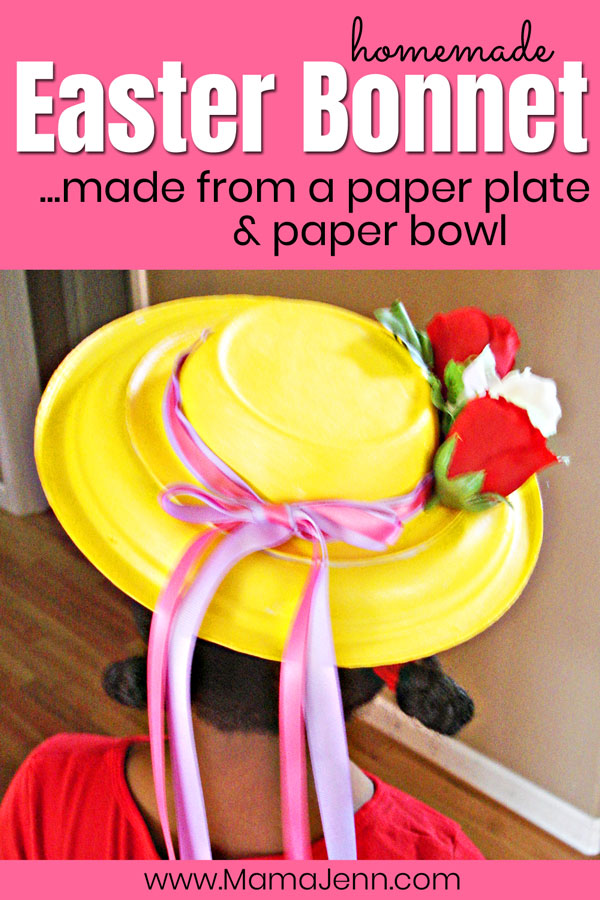
UPDATE: I’m pleased to report our homemade paper plate Easter bonnet has not suffered the same fate as all the other hats. After 10+ years and a few (maybe more) frisbee tosses into the dress-up bin, it’s still in pristine condition!
Check out my princess in the photo below sporting her new hat – just in time for Easter!
We got the idea for this project from Crafts For Easter![]() .
.
Looking for MORE Easter Activities?
On the hunt for more Easter-themed ideas, crafts, and activities? Check these out:
- The Jelly Bean Prayer (FREE printable cards)
- Resurrection Cookies (FREE printable instructions)
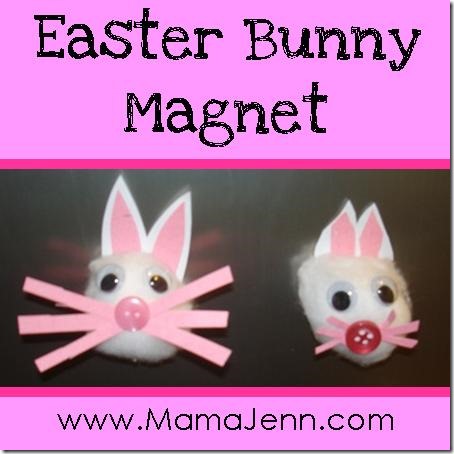
- Easter Bunny Magnet Craft

This post was originally published on March 23, 2010.
Mama Jenn
Thanks for sharing!!
partycraft secrets
Sooooo clever – I have to try this! I’ve shared this link on my facebook page – hope you don’t mind!!
http://www.facebook.com/pages/Partycraft-Secrets/239045209469228
Tami
Just stopping by to let you know that I’ve featured your craft on Family Fun Crafts! You can see it here:
http://funfamilycrafts.com/spring-hat/
If you have other kid friendly crafts, I’d love it if you would submit them. 🙂 If you would like to display a
featured button on your site, you can grab one from the right side bar of your post above.
Julie
We love this book! What a fun craft to do with it. Thanks for the great idea!!
Candace @NaturallyEducational
I have to laugh–we made a similar one and I didn’t realize I needed to cut the center of the plate! I figured that out later and took a knife and sliced out the center!
We also used tissue paper to papier mache our hat…I hope to post some pictures tomorrow.
Ms. B
I made a had for my daughter’s 50’s father daughter dance. This post made me realize how I could totally turn it into a craft project. Very cute, thanks!!
Ms. B
I made a had for my daughter’s 50’s father daughter dance. This post made me realize how I could totally turn it into a craft project. Very cute, thanks!!
Candace @NaturallyEducational
I have to laugh–we made a similar one and I didn’t realize I needed to cut the center of the plate! I figured that out later and took a knife and sliced out the center!
We also used tissue paper to papier mache our hat…I hope to post some pictures tomorrow.
Raising a Happy Child
Great idea – this hat turned out incredible. We read the first book last year and enjoyed it.
jennwa
That hat is beautiful. Thanks for sharing.
Michelle
These are beautiful, what an amazing idea!! Thank you so much for linking up to stART :0)
Julie
We love this book! What a fun craft to do with it. Thanks for the great idea!!
Donovan Doins
Great craft idea. That would be really fun for a ladies luncheon at church.
Jen @ Fun Family Tips
This was a really great idea and it came out so pretty! Hard to believe that it started as a plate and bowl! I’ve linked: http://www.funfamilytips.com/?p=1663
Ticia
Oh my is that cute. Now would Princess actually use it?…….
Preschool Mom
That is so cute! We made Easter hats for a craft one year, but they were not as easy as that!
Rusheika
Jenn.. that is one beautiful hat!! Good job! How have you been?
vanessa
I love this idea! It looks so great–not like a plate and bowl at all!