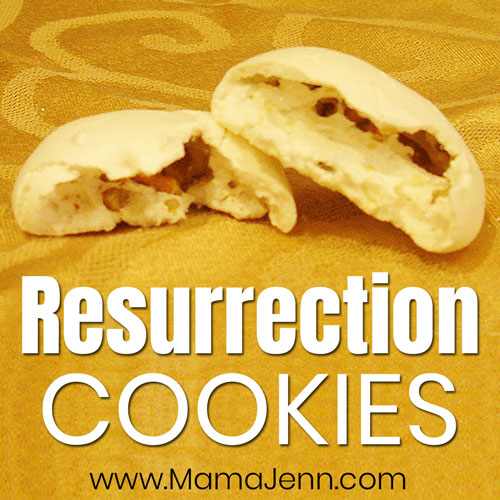
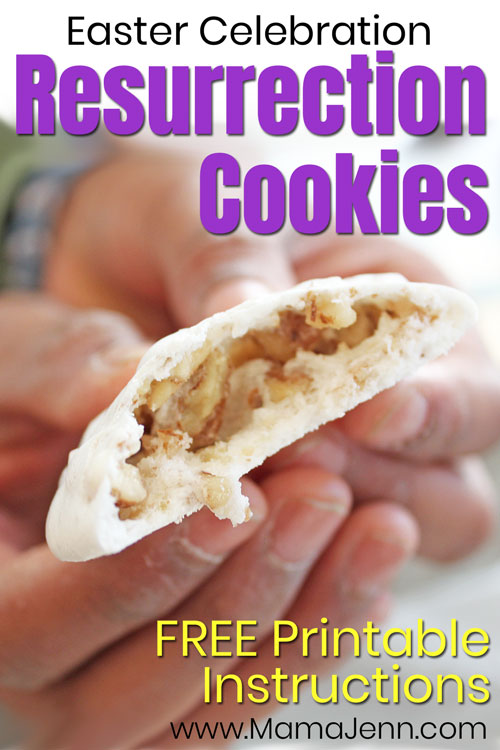
Celebrate Easter and the resurrection of Jesus Christ with this fun, interactive activity for kids. FREE printable cookie recipe & Bible instructions included.
Resurrection cookies are a GREAT way to walk children through the resurrection of Jesus. It is an engaging, yummy, memorable, hands-on way to teach and explain the story of Easter. My children thoroughly enjoyed our Easter Jelly Bean Prayer activity, so I knew they would love this as well!
Follow along below, but be sure to download the free printable chart with the Resurrection Cookie recipe, step-by-step instructions, Biblical explanations, and corresponding Bible verses.
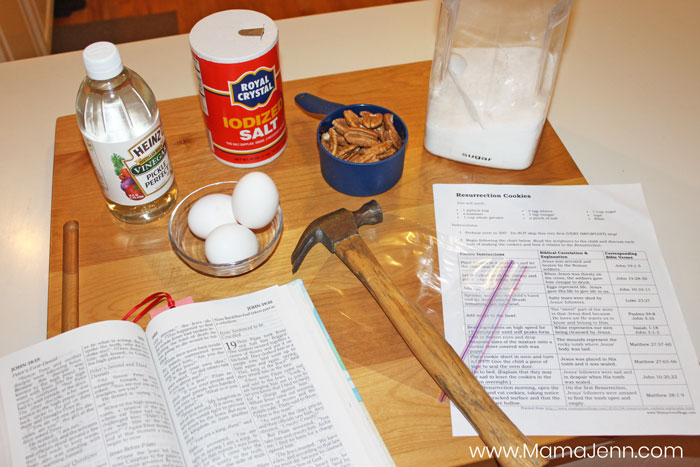
Resurrection Cookie Supplies:
Gather all of the ingredients and supplies listed/shown below. To make the cookies, you will need:
- 1 ziplock bag
- 1 cup whole pecans
- hammer
- 3 egg whites
- 1 tsp vinegar
- tape
- 1 cup sugar
- pinch of salt
- Bible
IMPORTANT NOTE: The instructions and steps listed below must begin the night before Easter Sunday, Holy Saturday.
Resurrection Cookie Directions:
- Preheat oven to 300°. Do NOT skip this very first (VERY IMPORTANT) step!
- Begin following the chart below. Read the scriptures to the child and discuss each part of making the cookies and how it relates to the Resurrection.
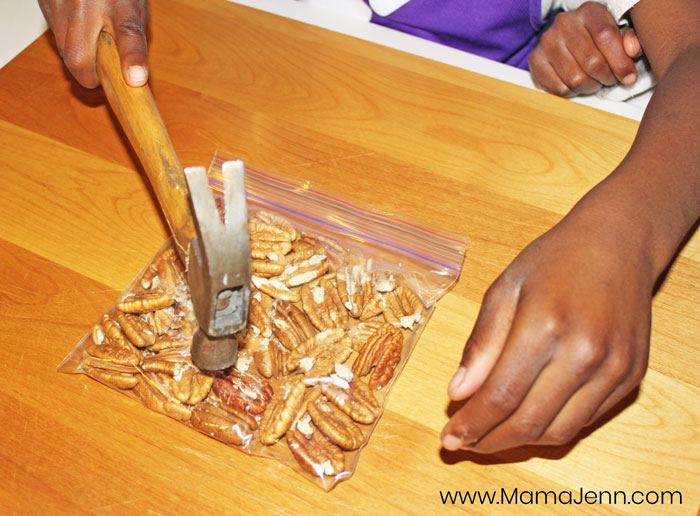
Step 1: Place pecans in ziplock bag and let the child beat them with a hammer.
Biblical Correlation: Jesus was arrested and beaten by the Roman soldiers.
Bible Verse: John 19:1-3
Step 2: Let the child smell the vinegar and put it into the mixing bowl.
Biblical Correlation: When Jesus was thirsty on the cross, the soldiers gave him vinegar to drink.
Bible Verse: John 19:28-30
Step 3: Add egg whites to vinegar.
Biblical Correlation: Eggs represent life. Jesus gave His life to give life to us.
Bible Verse: John 10:10-11
Step 4: Sprinkle salt into the child’s hand and let them taste it. Brush remaining salt into bowl.
Biblical Correlation: Salty tears were shed by Jesus’ followers.
Bible Verse: Luke 23:27
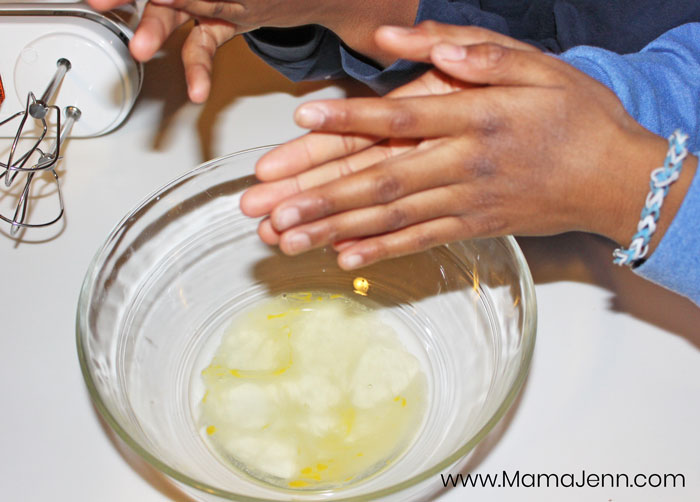
Step 5: Add sugar to the bowl.
Biblical Correlation: The “sweet” part of the story is that Jesus died because He loves us! He wants us to know and belong to Him.
Bible Verse: Psalms 34:8 John 3:16
Step 6: Beat ingredients on high speed for 15 minutes or until stiff peaks form.
Biblical Correlation: White represents our sins being cleansed by Jesus.
Bible Verse: Isaiah 1:18 John 3:1-3
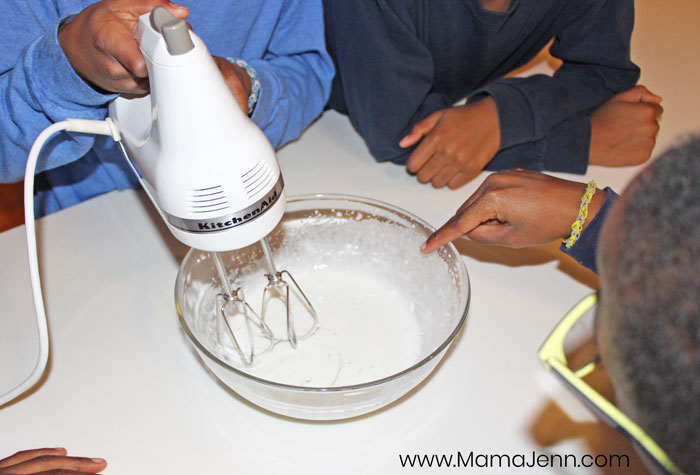
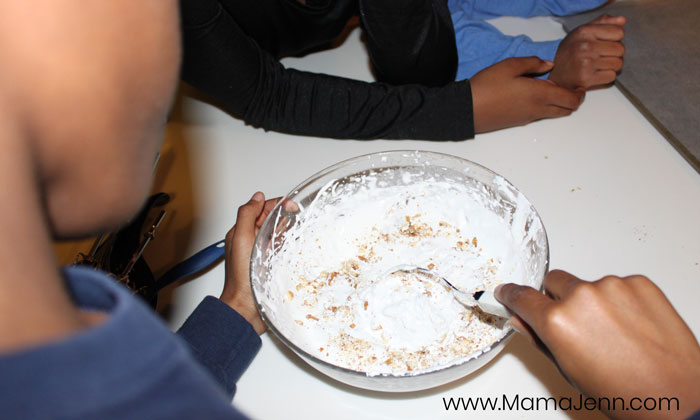
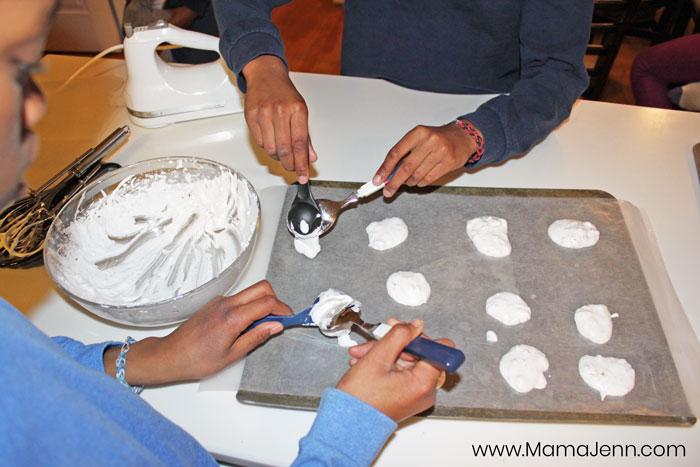
Step 7: Fold in beaten nuts and drop teaspoon sizes of the mixture onto a cookie sheet covered with wax paper.
Biblical Correlation: The mounds represent the rocky tomb where Jesus’ body was laid.
Bible Verse: Matthew 27:57-60
Step 8: Place cookie sheet in oven and turn it OFF!!! Give the child a piece of tape to seal the oven door.
Biblical Correlation: Jesus was placed in His tomb and it was sealed.
Bible Verse: Matthew 27:65-66
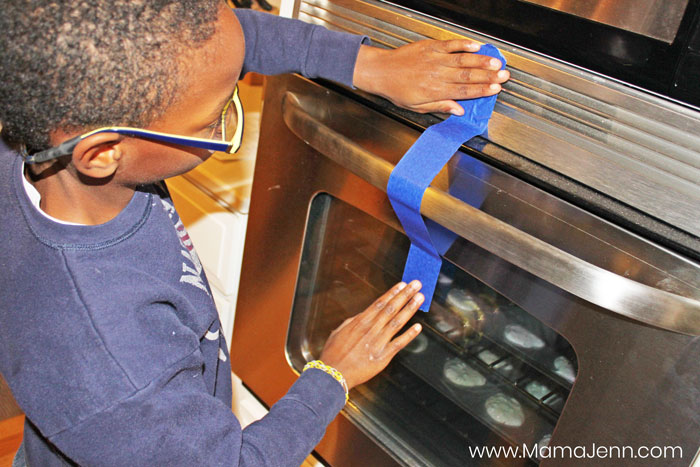
Step 9: Go to bed. (Explain that the child may be sad to leave the cookies in the oven overnight.)
Biblical Correlation: Jesus’ followers were sad and in despair when His tomb was sealed.
Bible Verse: John 16:20, 22
Step 10: On Easter morning (Resurrection Sunday), open the oven and eat cookies, taking notice of the cracked surface and that the cookies are hollow.
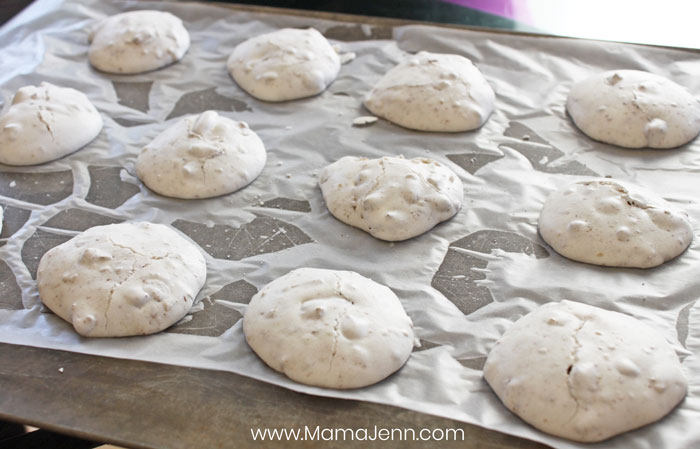
Biblical Correlation: On the Resurrection, Jesus’ followers were amazed to find the tomb open and empty.
Bible Verse: Matthew 28:1-9
I truly hope that you and your children thoroughly enjoy making the Resurrection Cookies and learning more about the resurrection of Jesus Christ!
I originally got this idea from Learn to Love, Love to Learn. I loved the chart format of the directions, but I wanted to be able to print it off so that I wouldn’t have to keep my computer nearby while going through the steps with the kids. Hence, I created a printable version for myself that I could also share with you!

Looking for MORE Easter activities?
If you’re on the hunt for more activities to help teach your children about Easter, be sure to check out some of my other blog posts:
- Jelly Bean Prayer (FREE printable cards)
- Easter Bunny Magnets (craft w/directions)
- Homemade Easter Hat Tutorial (made from a paper bowl & plate)
Download Instructions:
Ready to download the FREE Resurrection Cookies recipe and activity instructions? Click the button below to get access to the printable pdf file.
This post was originally published on April 2, 2010.

 Easter Bunny Magnet ~ Easter Bunny Are You For REAL?
Mama Jenn
Hi Debra! Here’s an idea! Perhaps you could make two sets. One set of cookies could be prepared prior to the event and the other set can be prepared during the event. That way the group can experience the process of making them. However, after you put them in the oven, you could discretely swap them out with the cookies that you prepared ahead of time.
Debra Gauntlett
Hi there
I am wanting to make the resurrection cookies at a family homegroup as our Easter activity. Hence we don’t have the luxury of leaving them in the oven overnight to cook. Do you have any other ideas on how we could do it.
Thanks
Debra
erin
Thanks so much for this recipe and chart. I am going to do this with my kids for sure. I also posted about it in my blog and I linked back to you.
http://abirdandabean.blogspot.com/2011/04/resurrection-cookies-and-winner.html
Thanks!!!
Mama to 3 Blessings
Congrats mama! You are a winner of the Mama Miti giveaway book hosted on my blog! Please e-mail me your mailing address so I can have the Publisher mail you your copy of the book. Please e-mail me at homeschoolingmyblessings at yahoo dot com
Thanks!
Nicole
Ticia
Oh, and I just left you the Easter Basket award. Have a great day! and a wonderful Easter!
JO
I’ve done this before with my kiddos, but not for awhile. I plan to do it again with my almost 12 yr olds – we’ll see how it goes – lol. I was planning to blog the process too. Thanks for sharing!
And they do taste pretty good!
jo
http://www.teensandtriplets.com
Ticia
Oh, I’m so trying this. I also wanted to try making the resurrection bread things with the marshmallows. I’m sure that will be popular here too.
Confessions Of A Homeschooler
Looks great, thanks for sharing the download too! So, um, how do they taste?
Kjirsten
Wow! Thanks for sharing!! I am going to try it with my kiddos tomorrow! Have a blessed day!
<3
Kjirsten
http://sewgraciouslyblessed.blogspot.com