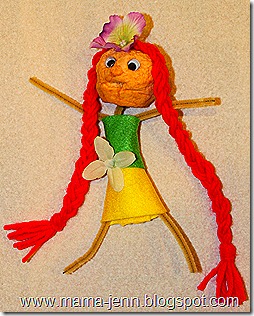
You may have seen our apples doll in our A is for Apples post. Well, as promised, here is a tutorial so that you can make your own!
To be honest, I had never heard of an apple doll until we read The Apple Doll by Elisa Kleven. However, my daughter has been taking hers just about everywhere we go and we have gotten numerous comments from mothers who also made an apple doll when their were children. So, I guess the idea is nothing new! Regardless, here is what we used and what we did! 🙂
Supplies Needed:
- Granny Smith apple
- apple peeler or sharp knife
- plastic knife
- toothpick
- lemon juice (enough to cover your apple)
- salt
- pipe cleaners
- glue (we used a hot glue gun)
- yarn
- googly eyes
- fabric scraps (we used felt)
Directions:
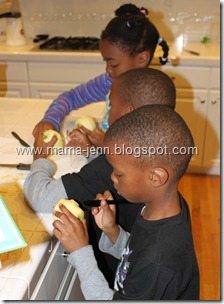
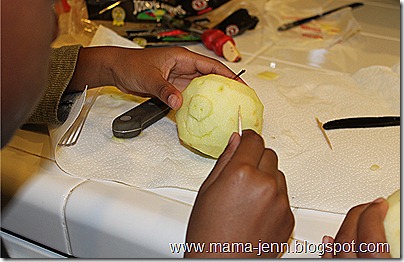
1) First peel the apple.
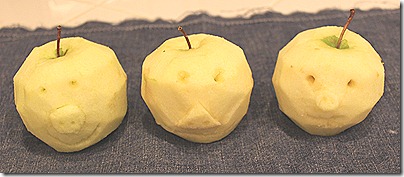
2) With the stem up, use a plastic knife to make a nose. Carve an outline of what you want the finished nose to look like and then carve around that shape so that the nose kind of sticks out.
3) Using a toothpick, make holes for the eyes. (This part really isn’t all that necessary if you plan to use the googly eyes. However, at the time, we didn’t know we were going to use them.) Using the toothpick or the plastic knife, also carve out a mouth.
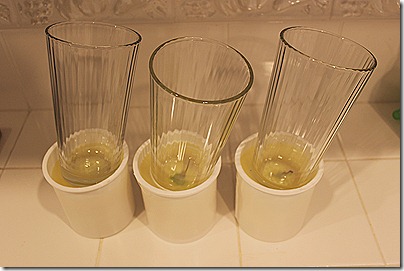
4) Now that your faces are all ready, put enough lemon juice in a container so that it will cover your apple. Dissolve 1 Tbs of salt into the lemon juice and put the apple in. Use a glass to hold the apple down in the mixture (otherwise the apple will bob up.) Let the apple soak for about 30 minutes.
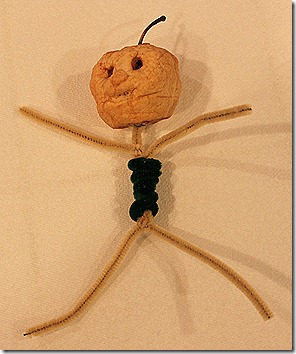
5) Remove the apple and let it dry for a few days. You could try speeding up the process by using the oven, however, the books warns to cover the nose to prevent burning. We sat ours in a windowsill and rotated the the apple so it would dry evenly…it took about 4 days. The dried apple will feel somewhat spongy and leathery and will have wrinkled quite a bit as well.
6) Once dry, we started making the body using pipe cleaners. We stuck the neck into the bottom of the apple and used a hot glue gun to help hold it in place.
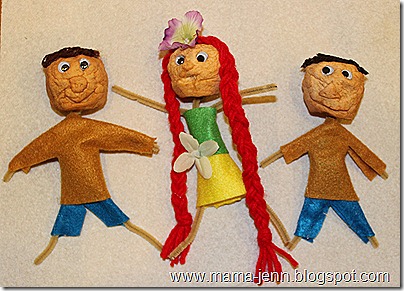
7) Next we used the glue gun to add yarn for the hair. We also glued on the googly eyes.
8) Next we cut out clothes from felt scraps. I used the glue gun to glue the clothes onto the pipe cleaner body.
Take a peek at Mac (short for Macintosh), Ambrosia Golden, and Fuji!!
Yes, the kids named their dolls…with the names of apples!!!!!
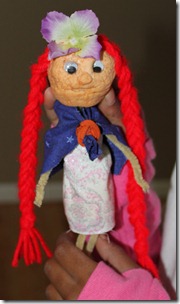
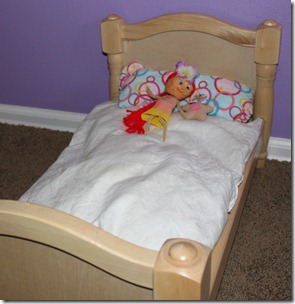
While the boys are not as interested in playing with their apples dolls anymore, my daughter has created an entire wardrobe for her doll. Ambrosia Golden now sleeps in KJ’s new doll bed. {A huge thank you to Guidecraft!!! Be sure to check out some of their other doll furniture!}
If you decide to make an apple doll, please let me know. I would love to see what you come up with!!!
FYI: The Apple Doll does provide step by step instructions for making an apple doll as well!

Mama Jenn
Hi Jackie,
Thanks for your kind words and thank for sharing!!!
Jackie Currie
oopsy…didn’t think my comment was accepted the first time, so you may have gotten two. Oh well…..twice the love. 🙂
Jackie Currie
Mama Jenn! I’ve just found your blog and I love it! Your craft ideas are so simple and beautiful. I’m sharing a bunch of them on my Happy Hooligans facebook page. Love the beautiful colours of your crafts. Keep up the awesome work!
Jackie Currie
Mama Jenn, I’ve just found your blog, and I absolutely love it! I’m sharing a bunch of your kids craft ideas on my HappyHooligans facebook page. Love your simple ideas, and how pretty and colourful your crafts are! Keep up the awesome work. 🙂
Sherri
This is a great tutorial!
We have made apple dolls before also…but after this, I think we will do it again…better!
I personally enjoy seeing the classics!
Everything you do is truly Amazing!
Shore Girl
I’ve seen this idea somewhere before (?) but not a tutorial for it! Thanks for doing a step by step — I think we’ll have to do thing sometime soon! I’ll be sure to link back here for this GREAT tutorial!